
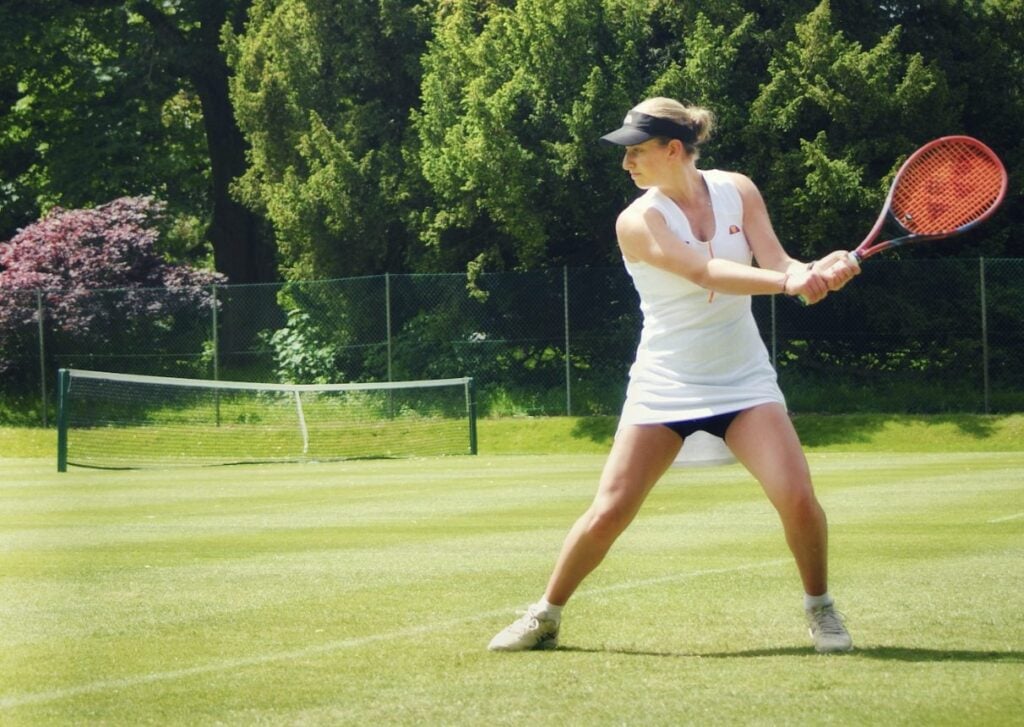

Whether you’re a beginner learning the fundamentals or an experienced player looking to refine your technique, you can never put in too much work on your backhand. In our guide, we take an in-depth look at the two-handed topspin backhand, breaking down everything from grip, preparation, and footwork to contact, racket path, and follow-through.
We will help you understand how each part of the stroke works together. You’ll also discover the most common mistakes players make and practical ways to develop a backhand that is more consistent, controlled, and effective under pressure.
One Vs Two Handed Backhand?
Before we dive into the details on the two-handed backhand, let’s take a look at whether you should be using the one-hander or the two-hander.
The two-handed backhand is usually suggested for newer players. The two-handed backhand is generally easier to learn because it provides greater racket stability, power, and control, while its similarity to the forehand allows beginners to transfer familiar movement patterns to the opposite side.
Using both arms helps engage the torso and larger muscle groups, making it easier to generate pace, block fast shots, and make late adjustments.
The one-hander provides greater reach, freedom, and variety, especially with disguising the slice, but demands more precise timing, strength, and technical coordination. So it’s recommended for more experienced players or those coming from other racket sports, where the backhand can transfer over.
If you want a deeper look at the one-hander, check out our article: How To Hit A One Handed Backhand
Understanding Topspin in Tennis
What Is Topspin?
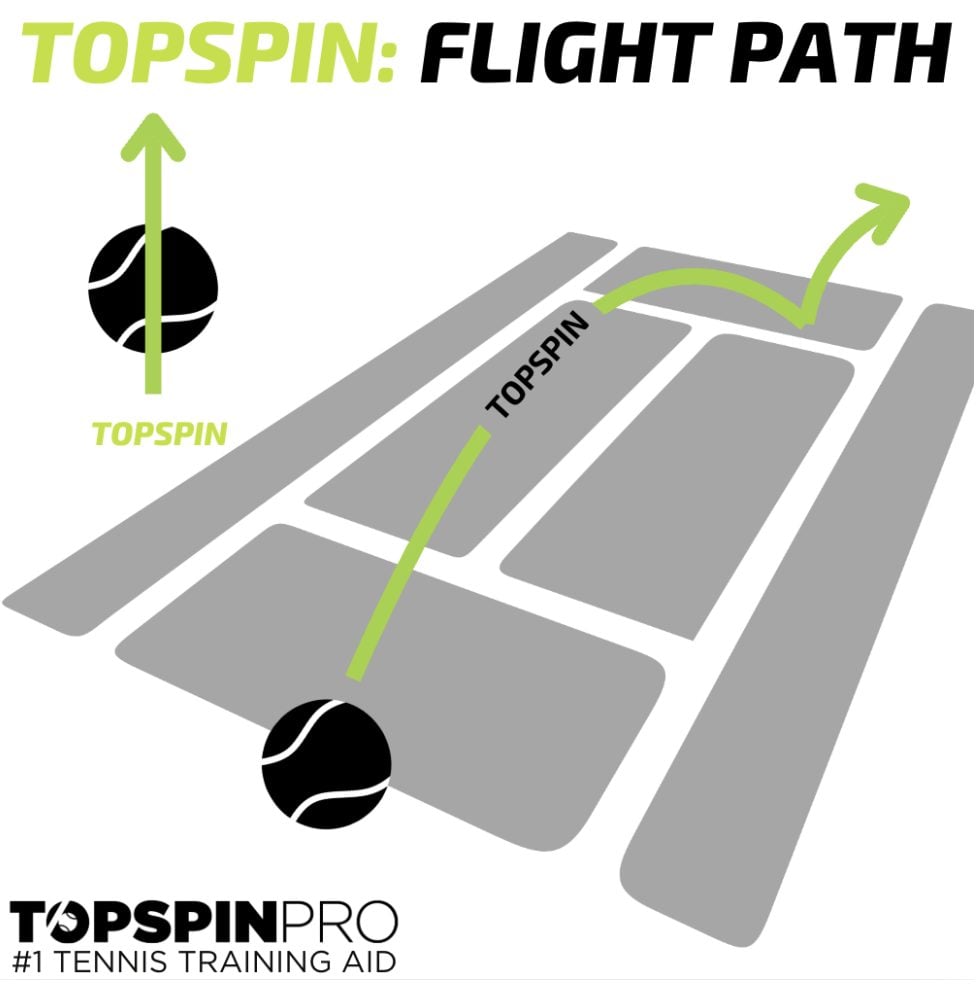
Topspin refers to the forward rotation created by the racket strings contacting the tennis ball. Despite the name, players do not generate it by striking the top of the ball. Instead, the racket begins below the contact point and travels forward and upward, allowing the strings to roll up the back of the ball. The faster the strings move, the heavier the spin will be on the ball.
How Does Topspin Affect the Ball?
A topspin shot behaves differently from a flat ball because its forward rotation affects the airflow around it. This creates a downward force known as the Magnus effect, causing the ball to curve back toward the court sooner. As a result, a player can send the ball higher over the net and still bring it down inside the baseline. After landing, the rotation also helps the ball rebound forward and upward, creating a livelier, more demanding bounce for the opponent.
Why Is Topspin So Important?
Topspin provides an effective combination of control, consistency, and attacking potential. Its main benefits include:
- Greater Net Clearance – Because the ball curves downward, you can aim higher above the net than an equivalent flat shot. This creates a larger margin for error during rallies.
- More Court Angles – The dipping trajectory allows you to bring wide cross-court shots and short angles down inside the sidelines. This can pull an opponent away from the center and create spaces.
- Hit Shots at an Opponent’s Feet – Topspin helps the ball drop quickly as it crosses the net. This makes it particularly useful when passing or challenging a player moving forward by dropping it at their feet.
- More Controlled Power – A flat shot struck with excessive speed can easily travel beyond the baseline. Topspin allows you to accelerate more confidently because the rotation helps bring the ball back into the court sooner.
- Push Opponent Out Of Comfort Zone – Many players prefer striking the ball between hip and chest height. A strong topspin bounce can rise above that zone, forcing them to retreat, take the ball early, or make contact from a less comfortable position.
Learning to create topspin is therefore not simply about making the ball spin. It gives you the freedom to combine net clearance, pace, depth, and angle while maintaining control. For a more detailed explanation of the technique and tactics involved, read Why You Need Topspin in Tennis.
How To Hold The Racket
Grip
There are a variety of ways you can hold the racket for the two-handed backhand. The following grip is the easiest way to get started and is also the most common two-handed grip at the pro level. If you are left-handed, flip your hands and place your left hand at the bottom instead.
Right Hand
Place the right hand in a continental grip at the bottom of the handle:
- Place the base knuckle of the right index finger on bevel 2 (bevel 8 for left-handers).
- Hold the racket as though using a hammer.
- Keep the wrist relatively neutral and comfortable.
Left Hand
Use a left-handed eastern forehand grip and place it at the top of the handle:
- Place the base knuckle of the left index finger on bevel 7 (bevel 3 for left-handers).
- This is approximately the grip the left hand would use for a left-handed forehand.
Grip Pressure
Many tennis players go wrong with their backhand by gripping the racket too tightly. Too much tension can cause you to muscle the shot or drag the racket through the ball rather than letting it swing freely.
Your swing should feel nice and loose, with just enough grip pressure to control the racket through the backswing and follow-through, and a little more firmness at contact.
Excessive tension restricts racket-head speed and makes it much harder to adjust to the incoming ball. Keep both hands connected on the grip too; they should be touching, with little to no gap between them.
What Each Hand Does During The Backhand Swing
Bottom Hand
The bottom hand helps:
- Maintain spacing from the body.
- Stabilize the racket through contact.
- Guide the initial direction of the swing.
Top Hand
The top hand helps:
- Accelerate the racket.
- Aim the racket face.
- Lift the racket to produce topspin.
- Complete the follow-through.
Many players end up bottom-hand dominant throughout the swing, which can open the racket face and make the swing feel unbalanced. A useful exercise is to hit gentle left-handed forehands (right-handed for lefties). This will help you get a feel for using the top hand more and your swing should start to balance out the load between both hands.
The Technique
1.Shot Preparation & Footwork
Ready Position
The ready position is where every shot begins and ends. A poor ready position leads to slower reactions and late contact.
Stay on your toes with your weight forward, knees slightly bent, heels off the ground, and ready to move in any direction. Hold the racket comfortably in front of your body, with your non-hitting hand on the throat or both hands on the grip.
Grip Change
As soon as you recognize the incoming shot to your backhand side, shift your grip from your regular ready position grip to your backhand grip.
Split Step
Effective movement begins before the ball has crossed the net. As your opponent strikes, use a light split step to place your body in an athletic, balanced position. Land on the balls of your feet, knees relaxed, so you can push immediately in any direction. The timing matters more than the size of the jump. Aim to land as you recognize where the ball is traveling. Landing too soon leaves you static, while landing late slows your first movement.
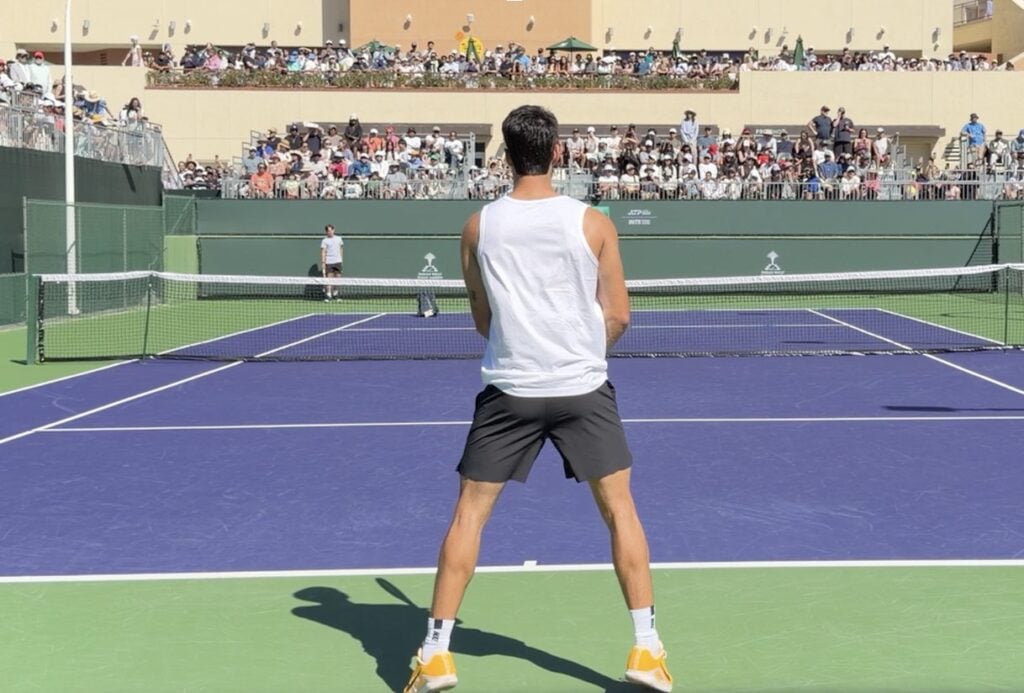
Footwork
Good stroke mechanics depend on arriving in the correct position. Even an excellent swing will become unreliable if you are late, off balance, or too close to the ball. Your first steps should cover the necessary distance, while smaller adjustment steps help refine your position as you approach the contact point.
Court movement generally involves two main types of movement:
1. Moving toward the ball – Closing down the space to the incoming ball. Think about chasing down a wide ball.
2. Moving away from the ball – Creating space from the incoming ball. Think of moving to the side as the ball travels toward your body.
Both adjustments can occur forward, backward, sideways or diagonally. For example, preparing for an inside-out forehand may require you to move around the backhand side while also adjusting forward or backward according to the ball’s depth.
Stance
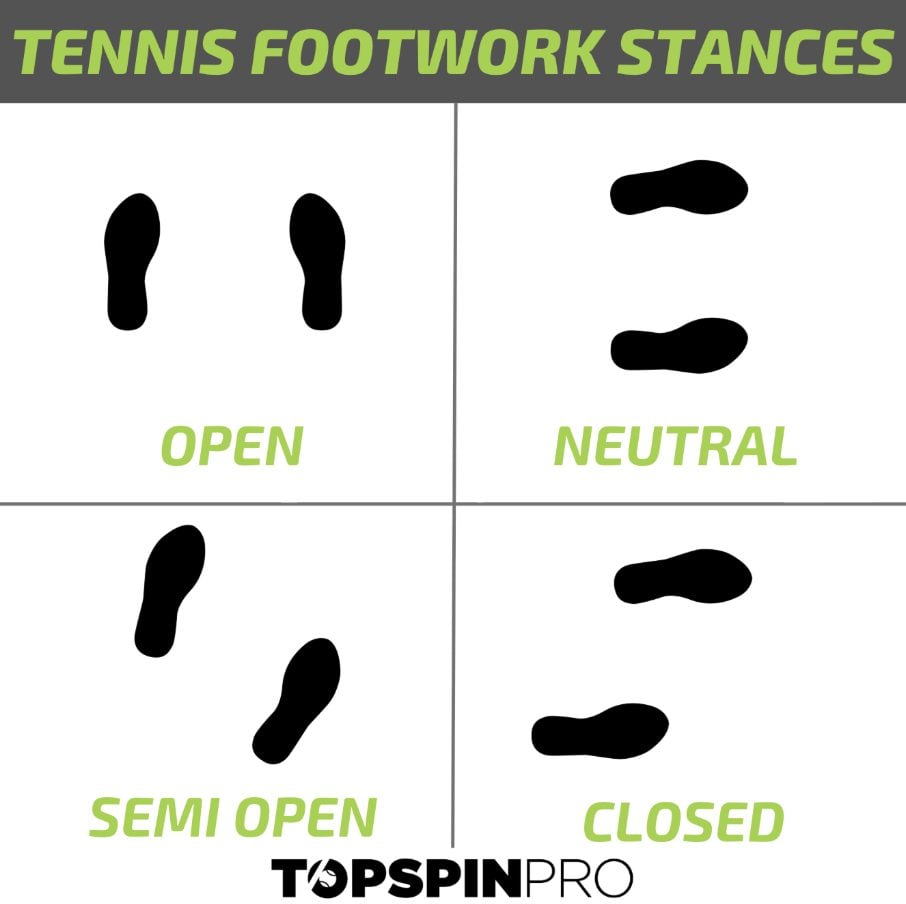
There is no single stance that suits every situation. Skilled players move between neutral, closed, semi-open, and open positions according to the ball’s speed, height, depth, and direction. A neutral stance may encourage forward momentum when there is time to step into the court, while an open or semi-open stance can support faster recovery against a deep or wide ball. Rather than forcing the same foot position on every shot, let the rally determine the most balanced and efficient stance.
Beginners should start with a neutral or closed position, as these make it easier to rotate, stay balanced, and build consistency, all whilst using two hands.
At first, aim for a stable base at contact. As your game improves, you’ll learn to move through the shot using more dynamic stances, generating greater power, topspin, and quicker recovery. Eventually, you can add the open stance and other advanced footwork patterns to handle balls from anywhere on the court.
Stepping In At Contact
When learning the backhand, use your outside leg to establish balance before stepping toward the shot with the leg opposite your hitting arm. For a right-handed player, this generally means transferring weight from the left leg toward the right. This forward movement helps position the ball ahead of the body and allows your momentum to contribute to the stroke.
2. The Swing
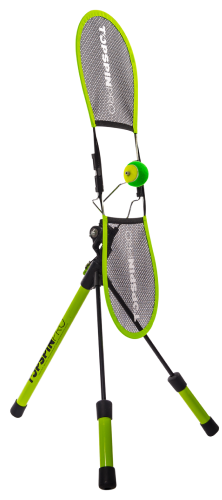
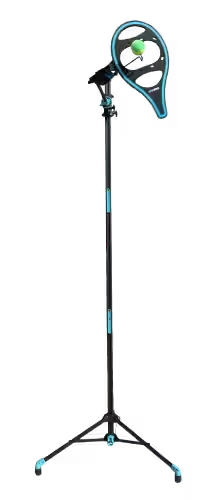
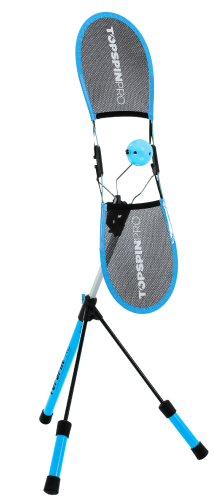
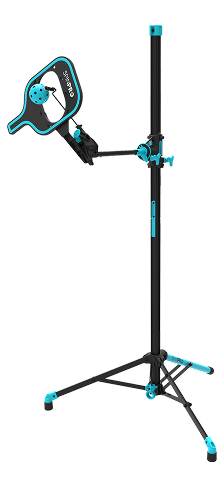
The backhand consists of several connected movements, but trying to master them all simultaneously can make the stroke feel unnecessarily complicated. Begin slowly, develop each section individually, and then combine them into one continuous action. A TopspinPro or SpinPro can help you rehearse the swing path without the added difficulty of judging a moving ball.
The eventual goal is a relaxed, coordinated stroke that uses the kinetic chain effectively (transferring power from the ground up and through the racket in a smooth, efficient way).
Unit Turn
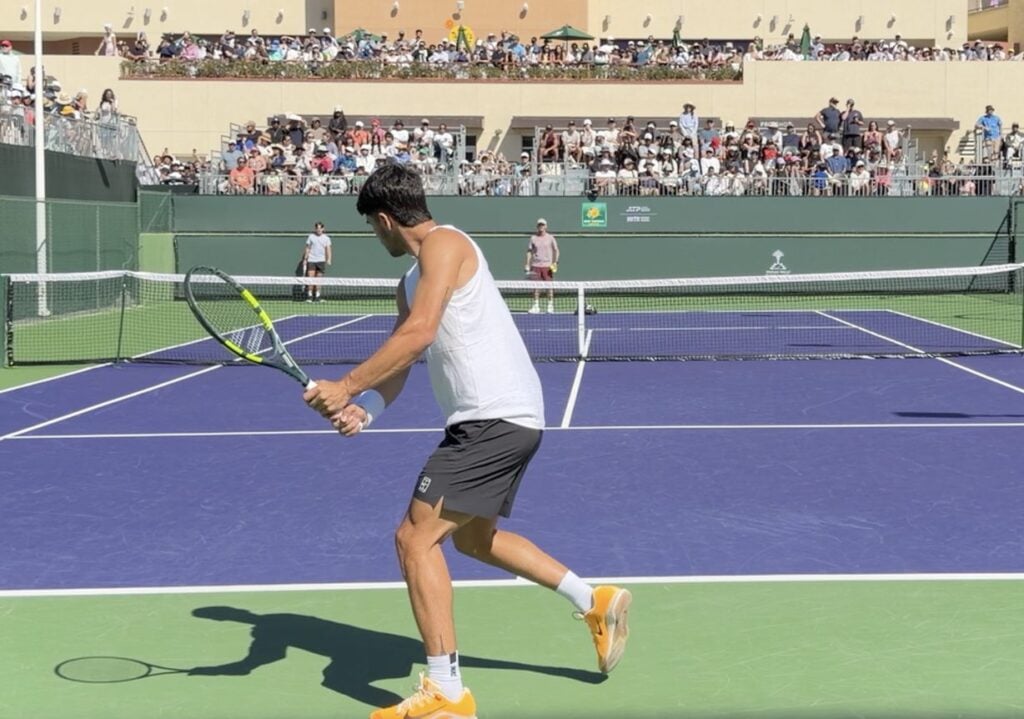
From the ready position, after the split step and grip change, the first response to an approaching backhand should be a coordinated rotation of the upper body. Turn the shoulders while allowing the hips, arms, and racket to move with them as a connected structure. This initial preparation, commonly called the unit turn, places the racket in position without relying on a separate, arm-dominated takeback. Completing it early gives you more time to move, adjust your spacing, and begin the forward swing in balance. You can see in the image below of Carlos Alcaraz that his chest, hips, and racket have all turned back and to the side of the court as a unit.
Backswing
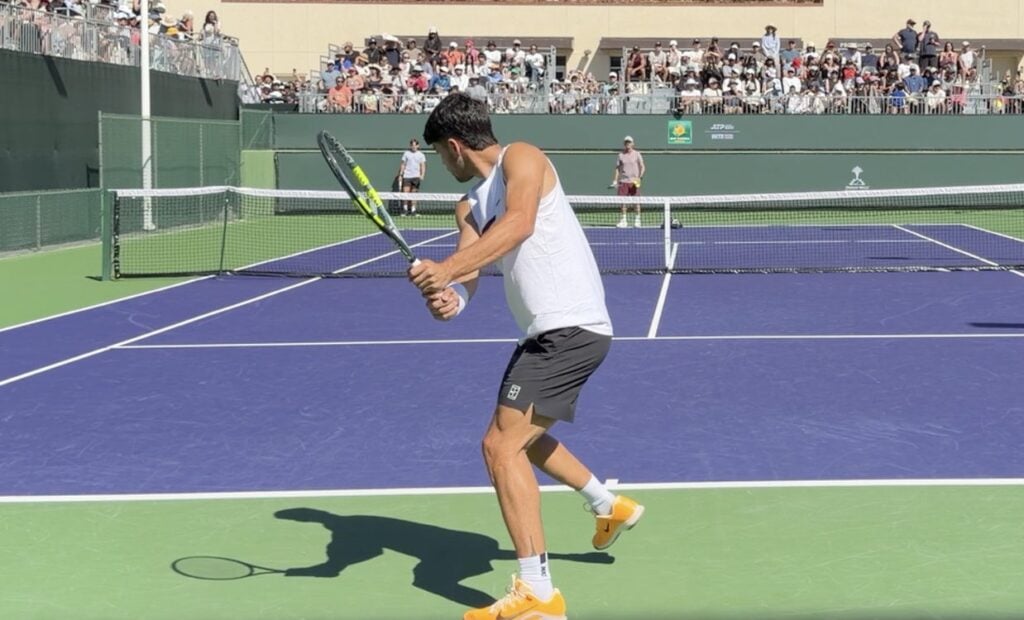
After the unit turn, the backswing should continue as your arms begin to move a little more independently from the body. Take a look at the image of Carlos Alcaraz below. His body remains sideways to the court, while his arms and racket continue a little further into the backswing.
This is the first phase of the backswing, where the racket travels slightly higher, with the top of the racket reaching around head height or just above.
Be careful not to over-rotate your body or take the racket too far behind you. The racket should sit comfortably to the side of the body, not cramped in too close, but not reaching too far away either. The goal is a relaxed, natural position that allows you to transition smoothly into the next phase of the swing.
The Racket Drop
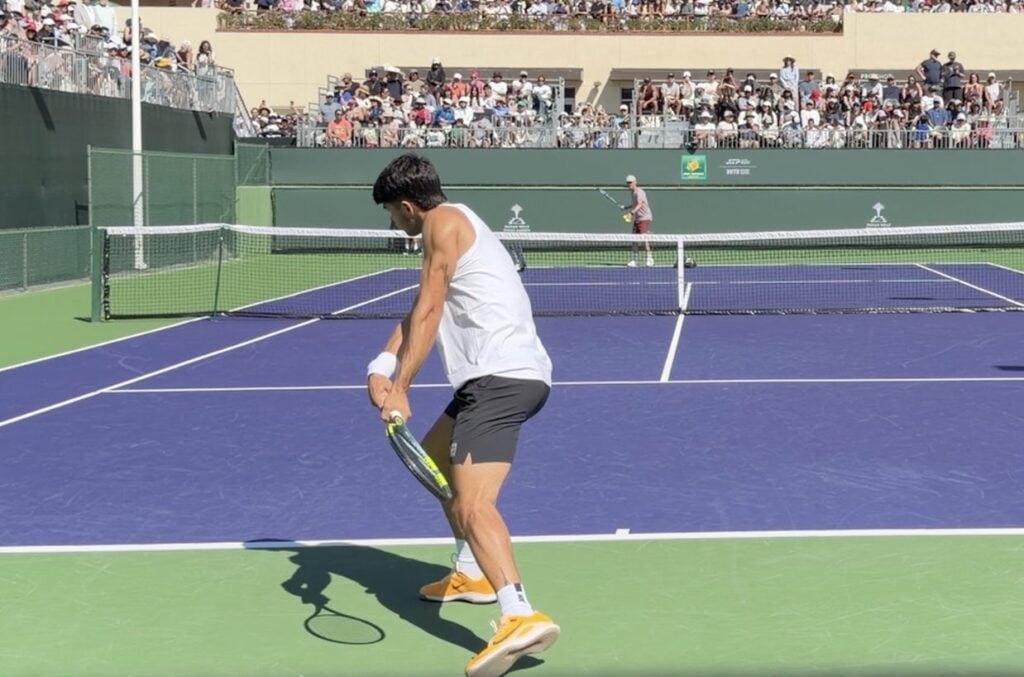
Next, relax and let your arm and racket drop naturally towards the ground (see image below). This is the last phase before you begin the forward swing. At this point, you want to keep your arm and wrist nice and loose. The looser you keep it, the faster you will be able to swing your racket forward to the contact point. You can also benefit from closing the strings slightly towards the ground. This will help with topspin and the point of contact.
The Forward Swing
Now comes the fastest part of the swing, where all of those major muscle groups are engaged, and your body is rotating through back to facing the court and towards your contact point. You can see Carlos Alcaraz rotate his body back through towards contact.
The Contact
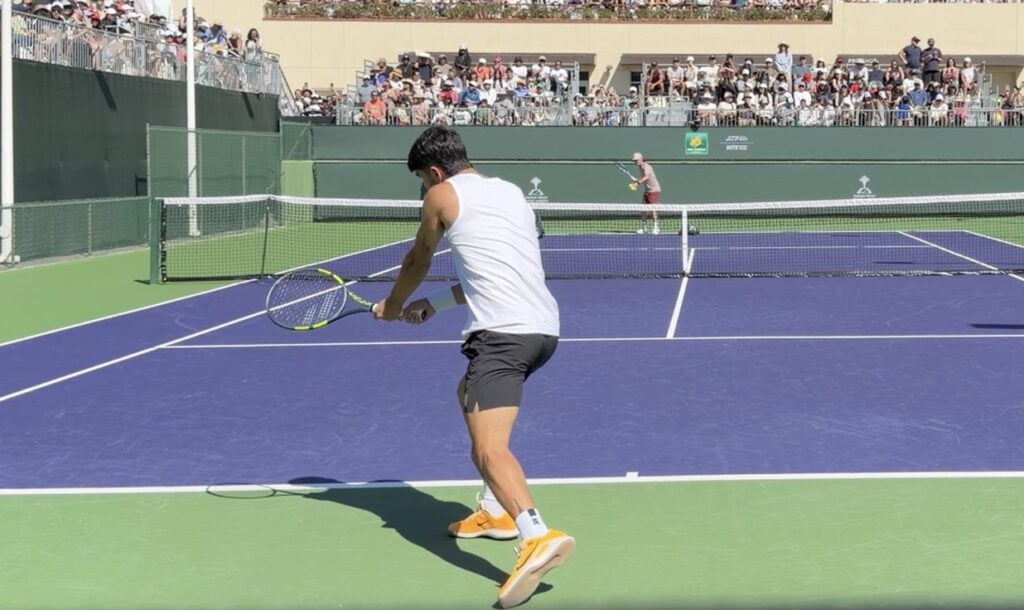
The contact point is the most important part of any stroke. Even with imperfect technique, a good contact point can produce a solid shot, while poor contact makes everything else less effective.
Because every ball bounces differently, your contact point must constantly adapt. The ball should be struck out in front of your body, ideally ahead of your front foot. This “power zone” maximizes power and topspin, with the racket accelerating up the back of the ball through contact.
Extension and follow-through
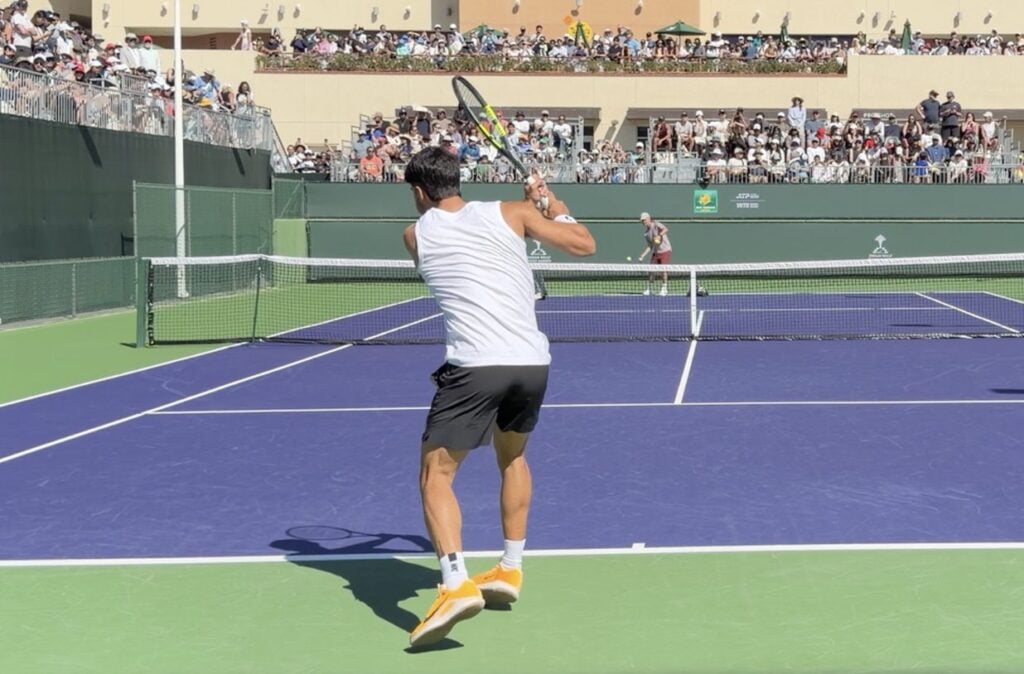
After contact, allow the hands to continue forward and extend towards the court. As with the stance and contact point, the finish position will change according to the type of shot you are hitting, but for beginners, it’s better to learn a consistent finish. Finishing over your opposite shoulder each time can help develop a consistent swing shape.
Common Backhand Mistakes
1. Expecting Instant Success
Tennis is one of the most difficult sports you can play. It takes years of practice and countless hours of repetition to master the game.
In fact, check out our article about how many reps it really takes to master a shot!
For the fastest progress, you need to be specific about what you are practicing and then progress that skill from the foundation up. This means isolating the skill. The TopspinPro is great for this.
Once you have become consistent with the correct biomechanics, you can advance to practicing with a moving ball. Next, add in a little more pressure with practice points before finally reaching the point where you can compete with that skill.
For an in-depth guide on how to progress fast, check out: How To Improve Tennis Fast
2. Ball Lands In The Net
This is a common problem that often results from a tight swing and a short finish. By remaining loose and having a consistent high finish, you can almost guarantee not to hit the ball in the net. Also, using your legs to drive up through the shot can give you the extra lift you need. Focus on bending your knees as you prepare to hit the shot and then explode up as you strike or step into the ball.
3. Ball Travels Long
The opposite of hitting in the next is sending it long too often. This can happen due to a number of reasons. The first one is either being late on the ball or leaning back, which often results in both. Trying to hit the ball too hard and not applying enough topspin are also common reasons. For many beginners, the most common reason the ball flies long is that the contact point is too open, i.e., the racket face is pointing upwards at contact.
4. Slow Shot
If you are struggling to add pace to the ball, it could be that your grip is too tight. Pace is achieved by staying loose, and the tighter you are, the slower the ball will leave your racket. We already mentioned the kinetic chain, and this is another reason why you may be losing power. Your body should be involved in the shot as much as your arms, and connecting them all together is the key to generating racket head speed.
5. Not Enough Topspin
If you are struggling to add enough topspin, it could be that your racket isn’t dropping below the ball enough to begin with. Think racket drop phase. If you are missing this, you will be swinging flat across the ball. Opposite of the drop is the finish. If that is too low, you will also struggle to generate optimal topspin.
If you are struggling with topspin, you can practice from the comfort of your own home using the SpinPro:

6. Poor Footwork
Ironically, as players improve, they often become lazier with their footwork. Staying light on your toes requires constant focus, and once your technique is solid, missed shots are often caused by poor footwork rather than poor stroke mechanics. This could be as simple as not using a split step or being slow with recovery steps between shots.
Conclusion
A great two-handed backhand isn’t built around one magic technical tip. It comes from getting all the smaller pieces working together. The key is not to rush the process. Start with the fundamentals, stay relaxed, and focus on developing a repeatable swing before worrying about hitting harder. As your timing and technique improve, racket-head speed, topspin, and power will naturally follow.
Most importantly, practice with purpose. Isolate the areas of your backhand that need work, build confidence through repetition, and then gradually introduce movement, live balls, and pressure.
With the right technique and enough quality reps, your backhand can go from being the shot you protect to one you’re confident using to control rallies, create angles, and attack your opponent.
Enjoyed this article?
Be sure to sign up for our newsletter and we'll keep you up to date about new posts